KMyMoney logo KMyMoney Made by KDE
Home › Tutorial
KMyMoney tutorial account register window
Getting Started · Free & Open Source

KMyMoney Tutorial

A plain-English getting started guide that takes you from a first launch to your first report, using the free KMyMoney personal finance manager on Windows, Mac and Linux.

Download KMyMoney
Version 5.2.2 · Free (GPL) · Windows, macOS & Linux

This KMyMoney tutorial is a step-by-step getting started guide for the free, open-source personal finance manager made by the KDE community. It walks you through installing and opening the app, creating a new file, adding your institutions and accounts, entering and reconciling transactions in the register, setting up categories, payees and scheduled payments, importing QIF, OFX or CSV data, and running your first report. Every step works in the full free download — there is no trial limit and no paid tier to unlock.

8
Guided steps
~1 hr
To first report
Free
Open source (GPL)
3
Platforms

Step-by-step: your first hour in KMyMoney

  1. Install and open the app. Get the free download for your system from the download page, run the installer, and launch KMyMoney. On first run it greets you with a welcome page and the New File wizard.
  2. Create a new file with the wizard. Choose File then New. The wizard asks for your name and base currency, then offers a set of starter account templates. Pick the ones that fit — a current account, savings, a credit card — and finish to build your empty book.
  3. Add institutions and accounts. Group accounts under the bank or provider that holds them. Use the Institutions view to add each bank, then add accounts beneath it with an opening balance and date so your starting position is correct.
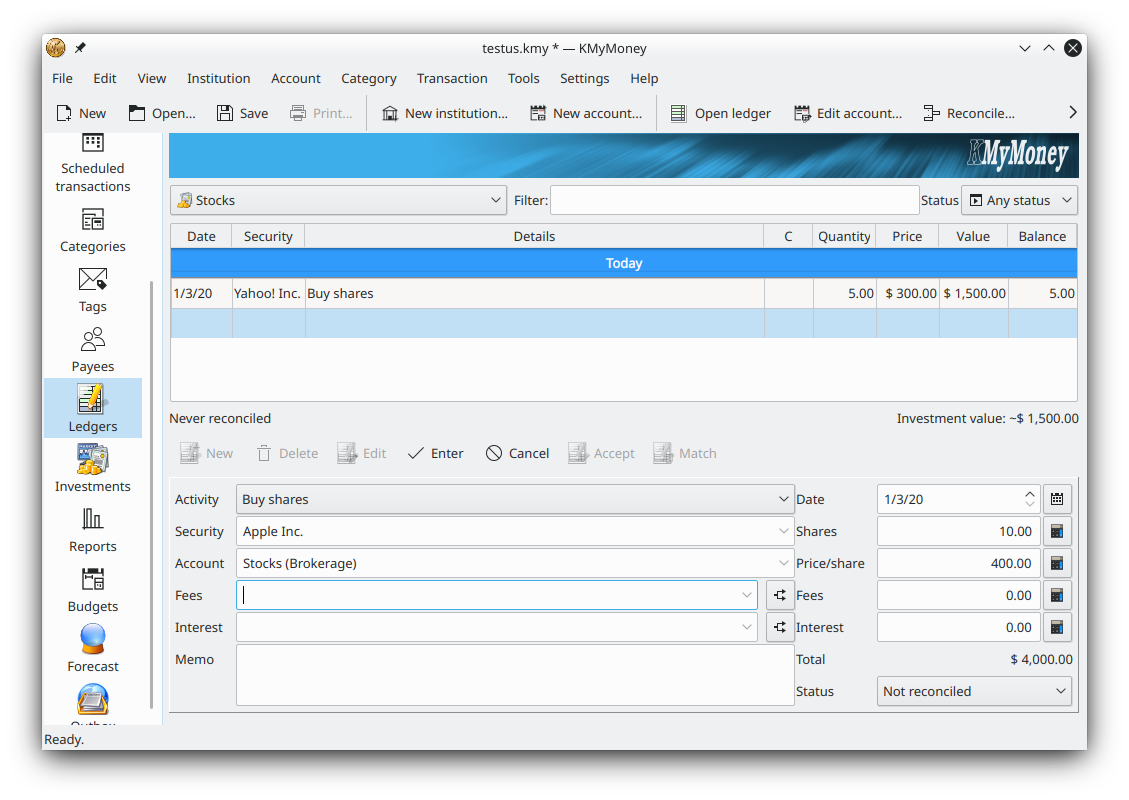
  4. Enter and reconcile transactions in the register. Open an account to see its register, which looks like a cheque book. Type the date, payee, category and amount for each entry. When your statement arrives, use Reconcile to tick off matching lines until the account balance equals the bank balance.
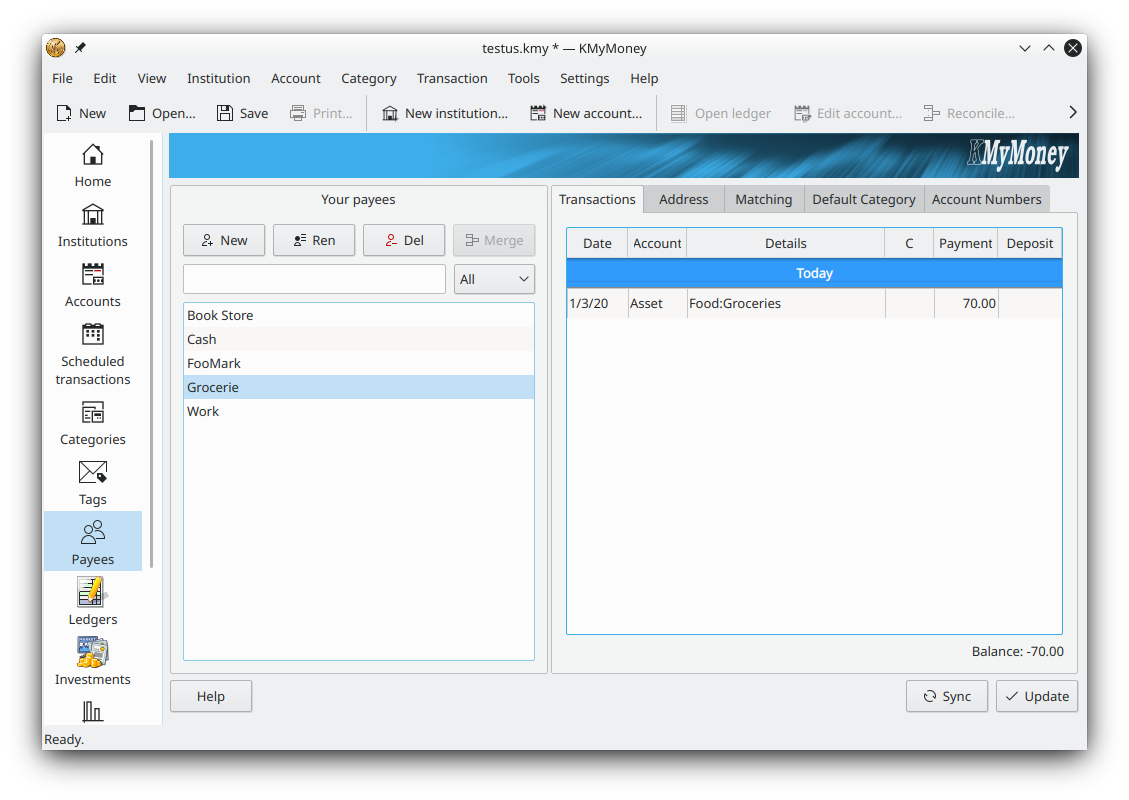
  5. Set up categories and payees. Categories are the income and expense buckets that make reports meaningful — groceries, salary, utilities. Payees are the people and businesses you transact with. KMyMoney can remember a payee's usual category so future entries fill themselves in.
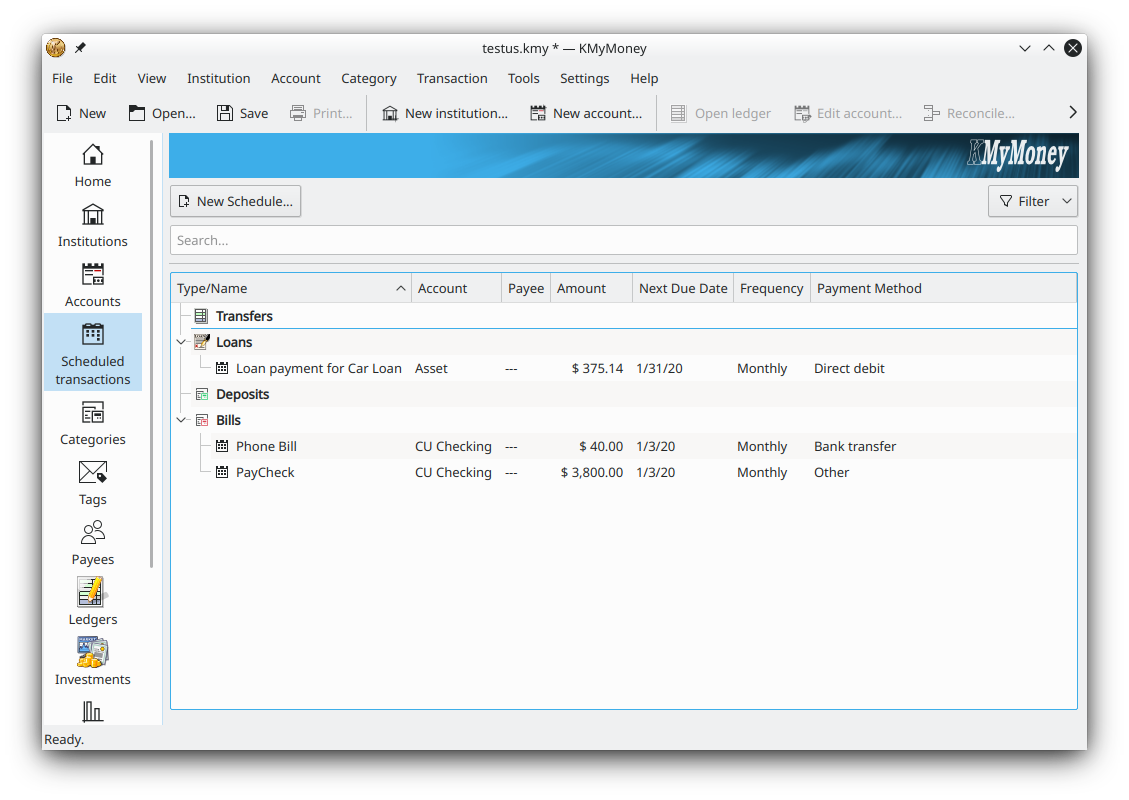
  6. Schedule recurring transactions. For rent, salary, subscriptions and loan payments, create a schedule so KMyMoney enters them automatically on the right date. Scheduled payments also feed the forecast, giving you a preview of future balances.
  7. Import QIF, OFX or CSV data. To bring in history or a bank export, choose File then Import and select the format. KMyMoney maps the columns or accounts and lets you review each transaction before it is added, so nothing lands in your books unchecked.
  8. Run your first report. Open the Reports view and pick a ready-made report such as Net Worth or Spending by Category. Adjust the date range, and KMyMoney draws the table and chart. Save your favourite settings so the report is one click away next time.

Key concepts as you go

Double-entry made simple

Every amount you record moves between two places, so your books always balance. KMyMoney handles the bookkeeping behind the scenes while you type in plain terms.

The register

The heart of daily use. Each account has a register that behaves like a familiar cheque book, with autocompletion for payees, categories and amounts.

Schedules and forecast

Recurring entries keep your books current with no effort and let the forecast project balances weeks or months ahead.

Imports

QIF, OFX and CSV imports move history in from Quicken, GnuCash or a bank download, so you rarely retype old data.

Reconciliation

Match your account against each statement to catch missed or duplicate entries and prove your books agree with the bank.

Private and local

Your file stays on your own computer, with optional GPG encryption. No account sign-up and no cloud upload are required.
See the steps on screen

KMyMoney tutorial account register
The account register
KMyMoney tutorial scheduled transactions view
Scheduled payments
KMyMoney tutorial reports and charts
Reports and charts

Where to go next

Once you are comfortable with the basics, compare KMyMoney with the other free double-entry option in KMyMoney vs GnuCash, or see how it stacks up against a paid program in KMyMoney vs Quicken. When you are ready to install, head to the download page or return to the KMyMoney home page.

Frequently asked questions

Is KMyMoney hard to learn?
No. The New File wizard sets up your accounts, and the register works like a familiar cheque book. Most people record their first transactions and run a report within an hour, even without accounting experience.
How do I import data from another finance program?
KMyMoney imports QIF, OFX and CSV files, so you can bring history in from Quicken, GnuCash or a bank export. Choose File then Import, pick the format, and map the columns or accounts when prompted.
What is reconciliation in KMyMoney?
Reconciliation compares your account against a bank statement. Enter the statement balance and date, tick off matching entries, and KMyMoney confirms the account agrees with the bank to the last cent.
Does KMyMoney cost anything to follow this tutorial?
No. KMyMoney is free and open-source (GPL). There is no trial limit or paid tier, so every step works in the full free download.

Download KMyMoney free

Free and open-source for Windows, macOS and Linux — no cost, no trial limit, no ads. Current version 5.2.2.

Download KMyMoney   See features